




Key Takeaway
Master a sharp, symmetrical wing with this step-by-step winged eyeliner tutorial built for Pakistan's heat and humidity, plus long-wearing product picks.
Ask any makeup lover in Pakistan what look they wish they could master and "the perfect wing" comes up almost every time. A crisp, symmetrical winged eyeliner tutorial is one of the most searched beauty topics from Karachi to Islamabad, and for good reason — a sharp wing instantly lifts the eye, works for everything from a quick office day to a full wedding look, and photographs beautifully under both daylight and event lighting. Yet most people abandon the wing after one shaky attempt with a liner that skids in humidity or dries out mid-line. In this guide, we walk through a foolproof, step-by-step method using tools that actually hold up in Pakistan's heat, along with fixes for the most common mistakes and product picks that will not budge through a long day in Lahore's summer or a sweaty wedding night in Karachi.
Why Every Winged Eyeliner Tutorial Is Worth Following Closely
A well-drawn wing does more for your eye shape than almost any other single makeup step. It elongates the eye, lifts the outer corner, and creates the illusion of a more lifted, awake gaze — which is exactly why it remains a staple for both everyday makeup and heavier bridal or party looks across Pakistan. Unlike eyeshadow, which needs blending skill and multiple products, a wing needs just one steady line and a plan, which makes it one of the most cost-effective ways to transform your whole face in under five minutes once you have the technique down.
The trouble most beginners run into is not a lack of talent, it is using the wrong tool for their skill level and skin type. Liquid liners dry fast and are unforgiving of shaky hands, gel and cake liners give you more control and a richer, longer-wearing line, and pencil liners are the most forgiving but tend to smudge in Karachi's humidity. Picking the right formula for your climate and experience level is the real first step of any winged eyeliner tutorial.
Tools You Need Before You Start
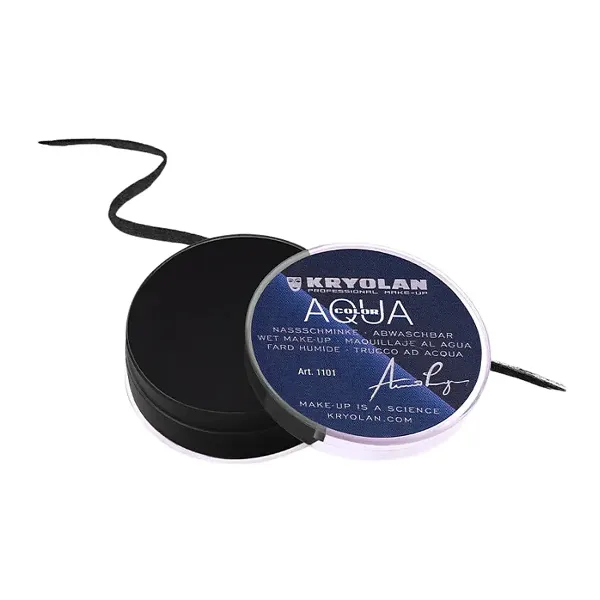
Before you touch your eye, lay out everything you need: a fine angled brush if you are using a cake or gel liner, a cotton bud dipped in makeup remover for clean-up, and something to map your angle — tape, a business card, or even the edge of a spoon held against your outer corner works well. A cake liner such as Kryolan Aquacolor Cake Liner from the professional Kryolan line is a favourite among Pakistani makeup artists because it is activated with water, gives an intensely pigmented line in one swipe, and — sealed properly — resists smudging through a full day of heat and sweat far better than most drugstore pencils.
You will also want good lighting. Overhead bathroom lighting casts shadows that distort how your wing looks once you step outside, so sit near a window or use a ring light if you own one. Keep a mirror flat on the table rather than tilted, and rest your elbow on a hard surface to steady your hand — most wobbly wings come from an unsupported arm, not a lack of skill.
Step-by-Step Winged Eyeliner Tutorial
Follow this order every time and you will get a consistent result even on rushed mornings before work or college.
Step 1 — Prep the lid. Make sure your eyelid is completely clean and dry, with a light dusting of setting powder if your skin is oily. Any trace of moisturiser or primer under the liner will make it slide.
Step 2 — Map your angle. Look straight into the mirror and hold a piece of tape (or an imaginary line) from the bottom of your nostril through the outer corner of your eye, extending upward. This is your wing's angle — it should never point too steeply upward, or it will look disconnected from the eye once your lid is open.
Step 3 — Draw the wing first. Counterintuitively, start with the tip of the wing rather than the inner line. Use short, light strokes to sketch a thin triangle at the outer corner, following the angle you just mapped.
Step 4 — Connect the base. Draw your line along the upper lash line from the inner corner outward, meeting the base of the triangle you already placed. This method keeps both eyes symmetrical because you are matching a fixed shape rather than freehanding a full curve on each side.
Step 5 — Fill and thicken. Once both eyes have the outline in place, go back and fill in the triangle and thicken the lash line to your preferred width. Thin near the inner corner, gradually thickening toward the wing, always looks the most natural.
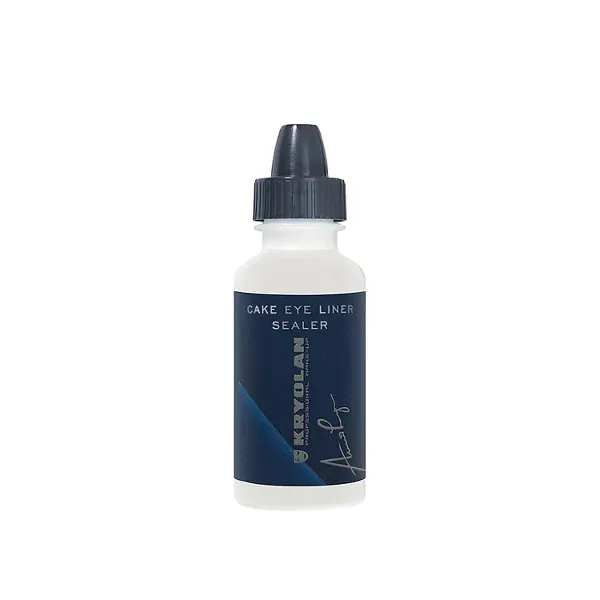
Step 6 — Seal it. If you used a cake or gel formula, set it with a dedicated cake eyeliner sealer to lock the pigment and make it genuinely waterproof — this one step is what separates a wing that survives a full wedding night in Karachi from one that has migrated to your under-eye by dinner.
Fixing Common Winged Eyeliner Mistakes
If your wings never match, stop trying to draw both eyes at the same time — finish one wing completely, then use it as your reference for the second. A cotton bud dipped in micellar water or a gentle makeup remover is your best friend for cleaning up uneven edges; dip it lightly and drag along the line rather than scrubbing, which smears pigment into the crease. If your liner keeps skipping over your lid, your skin is likely too oily or under-primed — a light layer of translucent powder before lining solves this instantly.
Another frequent issue is a wing that looks fine with eyes open but disappears or distorts when your eyes are open naturally throughout the day — always check your line with your eyes fully open and looking straight ahead, not just up close in the mirror. Finally, resist the urge to make the wing dramatically longer than your natural eye shape supports; an oversized wing on a smaller eye can look disconnected, while a wing proportioned to your own eye length always reads as more polished, whether you are heading to a Lahore office or an Islamabad evening event.
Best Eyeliner Products for Pakistan's Climate
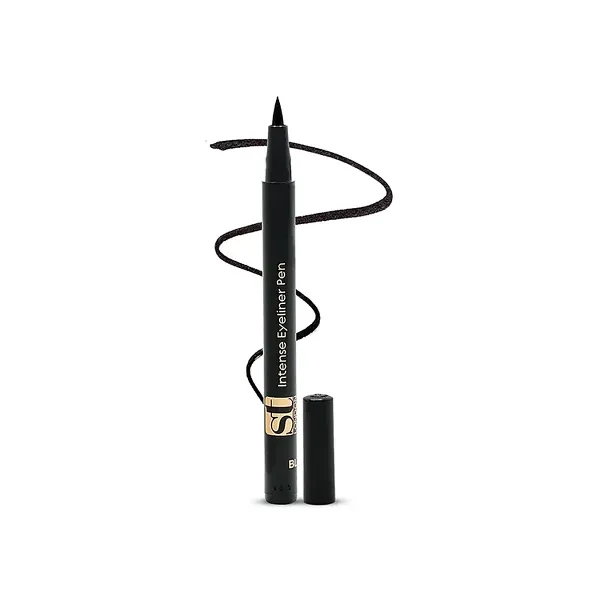
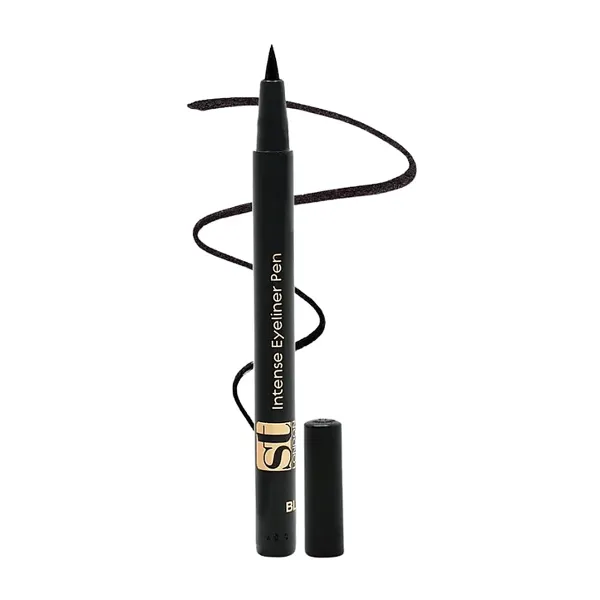
Heat and humidity are the real enemy of a long-lasting wing, which is why formula choice matters more here than in cooler climates. A cake liner paired with its dedicated sealer is the most humidity-resistant combination for Karachi's coastal air and gives makeup artists the sharpest line control for detailed wings. For a quicker daily routine, the ST London Intense Eyeliner and the felt-tip style Intense Eyeliner Pen both deliver a bold, single-swipe line without needing a brush, which is ideal for beginners still building confidence with angles. If you are completing a full eye look, adding a matching lip with the ST London Pout Lipliner ties the whole face together for weddings, mehndis, or evening functions. All of these are available in BigBasket.pk's Eye Makeup and wider Makeup categories, all 100% authentic and imported originals.
Shop BigBasket.pk
Products Featured in This Article
100% authentic — Cash on Delivery across Pakistan 🇵🇰
Adapting the Wing to Your Eye Shape
Not every eye shape needs the same angle or thickness. If you have hooded or downturned eyes, keep the wing angled slightly upward rather than straight out, and consider a "floating" wing that sits just above your natural crease so it remains visible with your eyes open. For monolid eyes, a thicker, more graphic wing tends to read better than a thin, delicate line, since a thin line can disappear against the lid. Almond and round eyes have the most flexibility and can generally pull off any wing style from subtle to dramatic. Whatever your shape, the mapping technique from Step 2 above still applies — only the final angle and thickness should shift to flatter your specific eyes.
When removing your winged look at the end of the day, always use a proper bi-phase or oil-based remover rather than scrubbing with soap and water, especially if you used a sealed cake liner. Browsing BigBasket.pk's Remover category will get your lids clean without dragging or irritating the delicate eye area, which matters even more if you wear a wing regularly.
Frequently Asked Questions
Which eyeliner formula lasts longest in Pakistan's humidity?+
A cake liner sealed with a dedicated waterproof sealer holds up best through humidity and sweat, followed by gel liners. Pencil liners tend to smudge fastest in hot, humid cities like Karachi.
How do I make both wings symmetrical?+
Map the angle with tape or a straight edge before you start, draw the tip of the wing first on both eyes, then connect the base line rather than freehanding a full curve at once. This keeps the shape consistent on each side.
What is the easiest tool for a beginner winged eyeliner tutorial?+
A felt-tip pen-style eyeliner is usually easiest for beginners because it delivers consistent pigment in one swipe without needing brush control. Cake and gel liners give more precision but require more practice.
How do I fix a smudged wing without redoing my whole eye makeup?+
Dip a cotton bud in micellar water or makeup remover and gently drag it along the smudged edge rather than scrubbing. Let it dry for a few seconds, then touch up the line with your eyeliner.
Mastering a winged eyeliner tutorial really comes down to three things: the right formula for Pakistan's climate, a reliable mapping technique, and a sealer that keeps your line intact through a long day or event. Practice the steps above on a quiet evening before you need the look for an occasion, and it will become second nature within a week or two. BigBasket.pk stocks every tool used in this tutorial — from Kryolan's professional cake liner and sealer to ST London's everyday liners — all 100% authentic, imported originals, with Cash on Delivery across Pakistan so you can build your winged eyeliner kit without leaving home.
Related Reading
- → Bob Eyeliner Price in Pakistan: What to Buy Instead
- → Best Eyeliner in Pakistan 2026: Top Picks
- → Kajal vs Kohl vs Eyeliner: What Is the Real Difference?
- → Eyebrow Shapes Guide: Best Brow for Your Face Shape
- → Best Eyeshadow Shades for Wheatish and Tan Skin Tones
- → Waterproof Mascara in Humid Weather: Myths vs Facts
Price note: Prices mentioned in this guide are snapshots and may change. The linked product page shows the current BigBasket.pk price and availability.